Multiple GitHub Accounts on One Machine in Two Commands
Most developers end up with more than one GitHub account: one for work, one for personal projects, maybe one for a client. Git can handle this, but doing it by hand takes a few separate pieces of setup:
a separate SSH key for each account
a
Hostalias for each key in~/.ssh/configeach public key added to the right GitHub account
a commit name and email that switch depending on which folder you are in
remotes that use the right alias
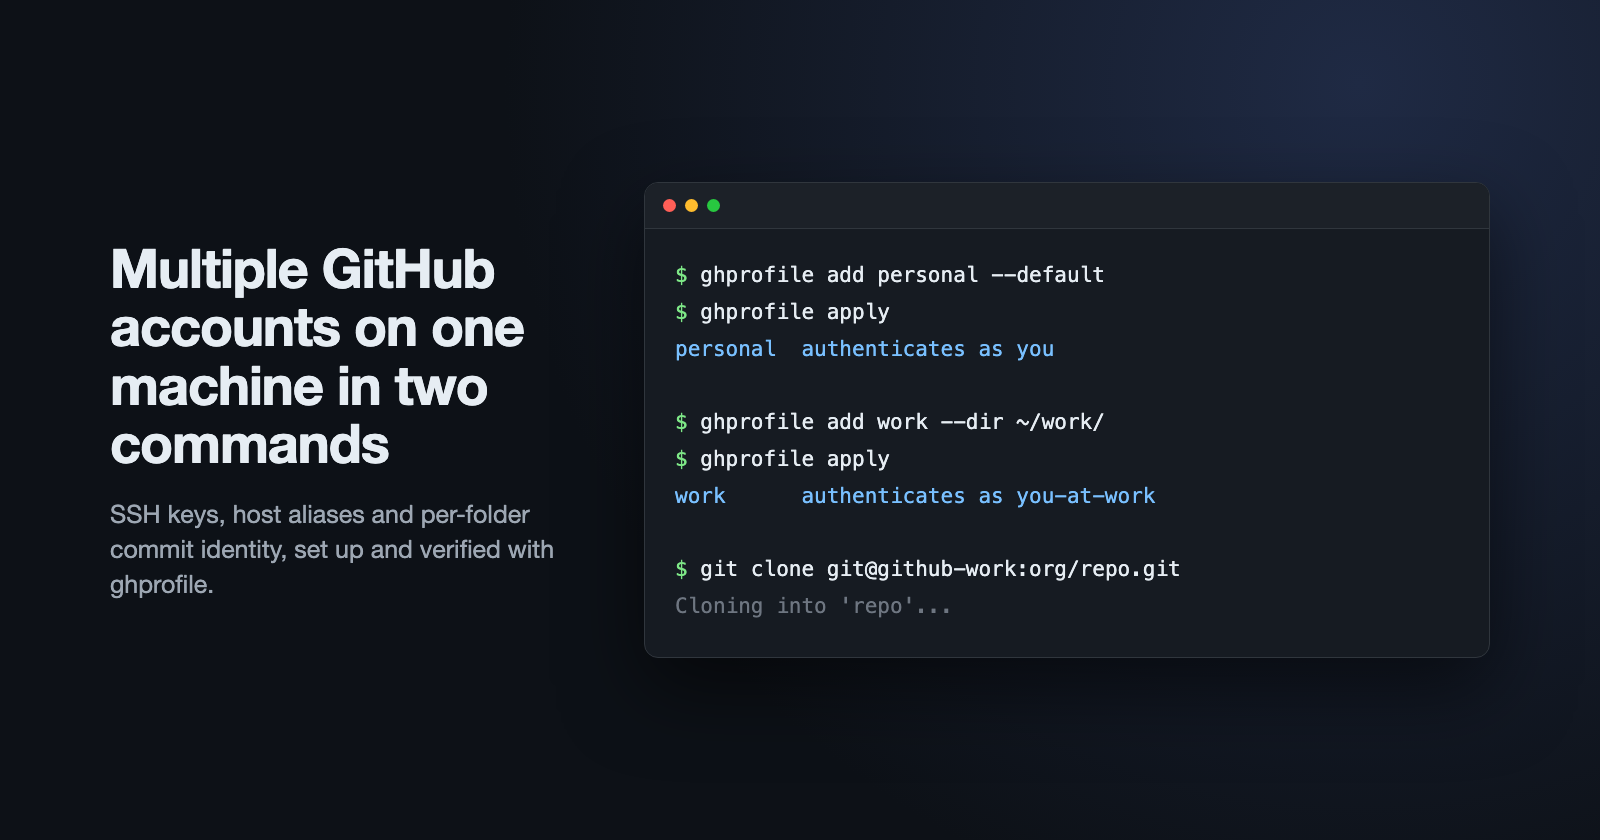
This guide does all of that with ghprofile, a small open source CLI, in two commands. ghprofile add declares an account, and ghprofile apply sets it up and confirms the key reaches the right account.
Contents
What you need
gitssh-keygen, which ships with macOS, most Linux distributions, and Git for Windowsa GitHub account for each identity
Install
macOS and Linux with Homebrew:
brew install Tessie475/tap/ghprofile
macOS and Linux without Homebrew:
curl -sSfL https://raw.githubusercontent.com/Tessie475/ghprofile/main/scripts/install.sh | sh
Windows: paste this link into your browser to download the zip:
https://github.com/Tessie475/ghprofile/releases/download/v0.2.7/ghprofile_0.2.7_windows_amd64.zip
Unpack it and put ghprofile.exe on your PATH.
With Go:
go install github.com/Tessie475/ghprofile/cmd/ghprofile@latest
Check it worked:
ghprofile version
Step 1: Add your main account
Set up one account at a time: add it, apply it, then move on to the next. You can add every account first and apply once, but one at a time is the smoother experience, because each run only asks you about one account. Step 3 explains why that matters.
Each account gets a short name of your choosing. The name also becomes the SSH alias, so personal becomes github-personal.
Start with the account you use most and mark it as the default:
ghprofile add personal --email you@gmail.com --default
The default account's email is used for commits everywhere, except in folders you assign to another account later.
add asks for your commit name and uses your current git name as the suggestion. Run ghprofile add with no flags and it asks for everything instead.
Step 2: Apply
Preview first if you like. This changes nothing:
ghprofile apply -dry-run
create directory   ~/.ssh
generate key       ~/.ssh/id_ed25519_personal
write              ~/.config/ghprofile/gitconfig-personal
write              ~/.ssh/config
write              ~/.gitconfig

5 change(s) not applied (dry run)
Then run it for real:
ghprofile apply
Three things happen.
It generates a key. ssh-keygen asks for a passphrase, as it does when you follow GitHub's own instructions. Setting one is recommended. Press Enter twice to skip it. On macOS the passphrase is saved to your keychain, so you are only asked once.
It writes your SSH and git config. Anything already in those files stays as it was, and a backup is saved before each file is changed.
It helps you add the key to GitHub. It copies the public key to your clipboard, opens GitHub's SSH keys page, and waits:
sign the browser in as you@gmail.com, the "personal" account, then paste the key, save it,
and press Enter:
Check that the browser is signed in to the account it names before you paste. Adding a key to the wrong account is the most common mistake in this setup, and it's easy to do when more than one account is signed in.
After you press Enter, ghprofile connects to GitHub and reads back which account the key belongs to:
authenticated as your-username
If it names the wrong account, the key went to the wrong place. Remove it from that account and run ghprofile upload personal to try again.
Step 3: Add your other accounts
Now add the second account, and tell it which folder it belongs to:
ghprofile add work --email you@company.com --dir ~/work/
Inside ~/work/, commits now use you@company.com. Everywhere else they still use your default email.
Before you apply, switch the browser to your work account. Then apply again:
ghprofile apply
Your first account is already done, so this run only covers the new one:
generate key       ~/.ssh/id_ed25519_work
write              ~/.config/ghprofile/gitconfig-work
write              ~/.ssh/config
write              ~/.gitconfig
This is why one account at a time is worth it. Each run opens the browser for a single account, so you only have to make sure you are signed in to that one account. If you add both and apply once, ghprofile walks through them back to back, and it's easy to paste the second key while the browser is still signed in to the first account.
Repeat this step for any further accounts. To see everything you've declared:
ghprofile show
NAME      ALIAS            HOST        IDENTITY         DIRECTORIES  DEFAULT
personal  github-personal  github.com  you@gmail.com    -            yes
work      github-work      github.com  you@company.com  ~/work/
Step 4: Clone with the right account
For your other accounts, use the alias in place of github.com:
git clone git@github-work:company/project.git
Clone work repositories inside ~/work/ so they also pick up the work email. To confirm, run this inside the repo:
git config user.email
It should print you@company.com.
Use the alias for your default account too, git@github-personal:. A plain git@github.com: URL is not reliable unless you set up the option in the next section.
Existing repositories
A plain git@github.com: URL doesn't match any alias, so SSH doesn't know which of your keys to use and offers whatever it can find, which is often the wrong account's key or none at all. The result depends on your machine:
on macOS it often works, because the system keeps your keys loaded in the SSH agent. It can still pick the wrong account, or stop working after a restart.
on Windows and Linux it usually fails with
Permission denied (publickey), because nothing is loaded and ghprofile's keys don't use the file names SSH looks for by default.
You have two ways to deal with this.
Option 1: keep github.com for your default account. Tell ghprofile that plain github.com URLs belong to your default account:
ghprofile default personal -claim-host
ghprofile apply
Plain git@github.com: URLs then always use your default account's key, on every system, and repositories you already have for that account keep working as they are. The command explains the trade-off and asks before changing anything: plain URLs can then only reach your default account, so your other accounts must use their alias. ghprofile default personal -no-claim-host reverses it.
Option 2: move everything to aliases. fix-remote rewrites existing repositories to the right alias, based on which folder they are in.
Either way, existing repositories for your other accounts need their alias, and fix-remote is how you move them.
Preview:
ghprofile fix-remote -all
Apply:
ghprofile fix-remote -all -write
Already have a key for one of the accounts?
Run ghprofile keys, which connects to GitHub with each key in ~/.ssh and reports the account it reaches. This matters if you already have a key for one of your accounts, because you don't need to replace a key that already works.
ghprofile keys
KEY                       HOST        ACCOUNT             PROFILE
~/.ssh/id_ed25519         github.com  your-personal-user  -
~/.ssh/old_deploy_key     github.com  no access           -
A key's file name and comment don't tell you this, since they are whatever was typed when the key was made. Once you know which key belongs to which account, point the profile at it:
ghprofile add personal --email you@gmail.com --default -key ~/.ssh/id_ed25519
apply then uses that key and skips generating a new one.
Checking on it later
Run ghprofile verify, which connects to GitHub with each profile and reports the account it reaches. Two other commands help too:
| Command | What it does |
|---|---|
ghprofile verify |
Connects to GitHub and reports which account each profile reaches |
ghprofile check |
Looks for problems in your files, without going online |
ghprofile plan |
Shows anything that has drifted from your profiles |
ghprofile apply is safe to run again at any time. When nothing has changed, it changes nothing.
What it writes
ghprofile changes three things: your ~/.ssh/config, your ~/.gitconfig, and one small identity file per account in ~/.config/ghprofile/. It also creates a key in ~/.ssh for any account that doesn't have one.
Paths below are shortened to ~. In the real files they are written out in full.
In ~/.ssh/config, one block per account:
# BEGIN ghprofile:work
Host github-work
  HostName github.com
  User git
  IdentityFile ~/.ssh/id_ed25519_work
  IdentitiesOnly yes
  AddKeysToAgent yes
  UseKeychain yes
# END ghprofile:work
IdentitiesOnly yes is what keeps the accounts apart. Without it, SSH offers every key it has, and GitHub accepts the first one that matches any account.
In ~/.gitconfig, an include for the default identity and a conditional include for each folder:
[includeIf "gitdir:~/work/"]
	path = ~/.config/ghprofile/gitconfig-work
Everything is inside # BEGIN ghprofile / # END ghprofile markers. ghprofile only ever changes what is inside its own markers, so you can keep editing the rest of these files as usual.
Undoing it
Run ghprofile remove <name>, then ghprofile apply. This removes that account's config and leaves its key in place:
ghprofile remove work
ghprofile apply
Every file ghprofile changed also has a timestamped backup next to it, named <file>.ghprofile-backup-<time>.
FAQ
Can I use two GitHub accounts on one computer?
Yes. Each account needs its own SSH key, because GitHub won't let the same key be added to two accounts. An SSH host alias picks the key, and git's includeIf picks the commit email based on the folder.
Why are my commits showing the wrong email?
Git uses one global user.email unless something switches it per folder. Run git config user.email inside the repository to see which email it uses, and give the account a folder with ghprofile add <name> --dir <folder>. Commits you already made keep their old email.
Does this work on Windows?
Yes. ghprofile runs on Windows with Git for Windows installed, as well as on macOS and Linux. On Windows a plain git@github.com: URL fails unless you set up -claim-host, as explained above.
Do I need to replace my existing SSH key?
No. Run ghprofile keys to see which account your key reaches, then point the profile at it with -key. ghprofile only generates a key when the profile's key file doesn't exist.
Wrapping up
That's the full setup: add an account, apply, repeat. The source is on GitHub. Issues and pull requests are welcome.